Collaborative Editor in 30 mins or less
Contents
When we do interviews at my current company, we usually do some live coding tasks. Oftentimes, we use a tool that has syntax highlighting, and we can see the code as it's typed. Recently, this tool started to lose connection too often 😑
That got me thinking, how hard is it to cobble together a real-time code editor?
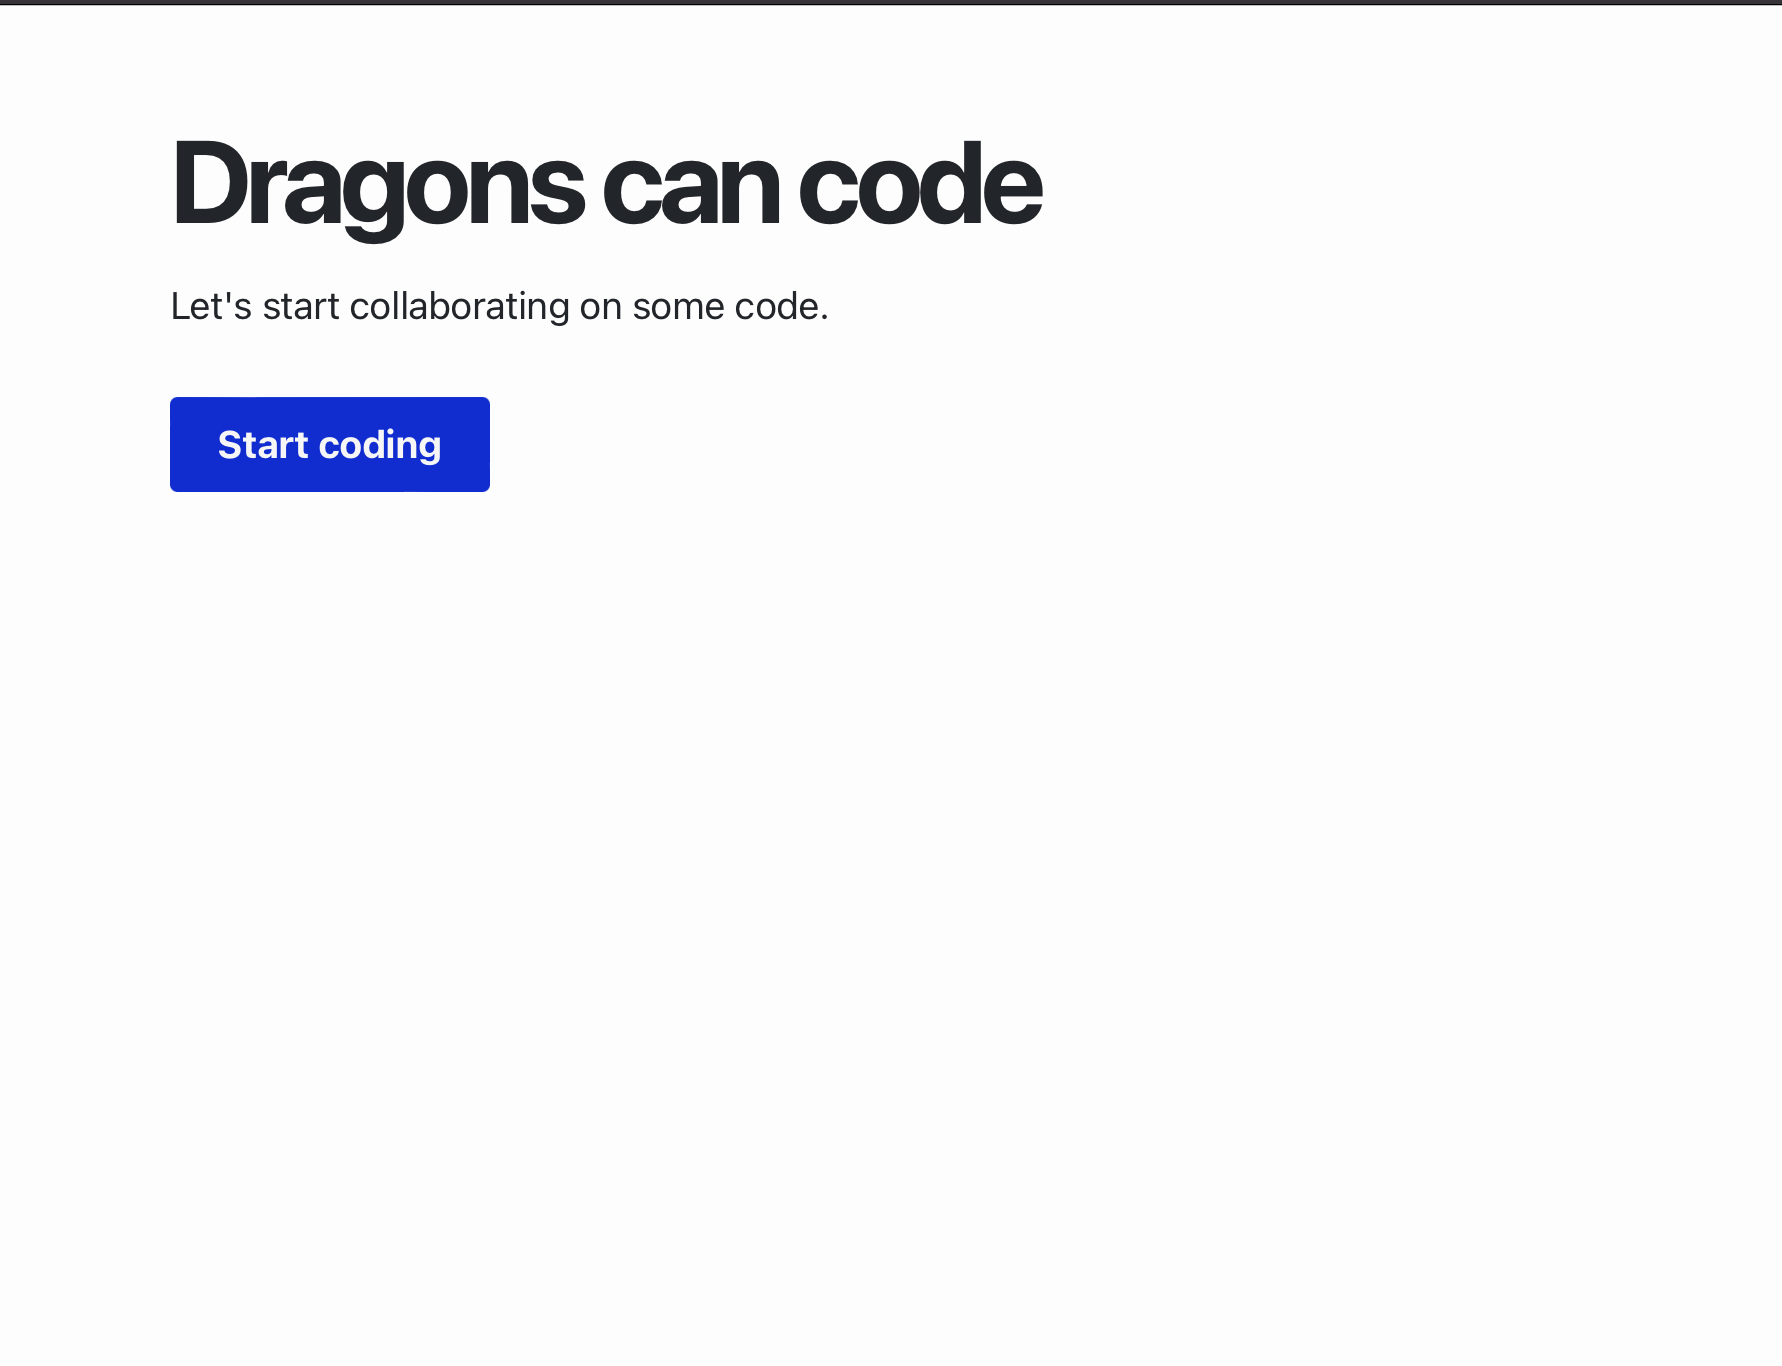
TLDR: We built a simple real-time code editor with Y.js, Monaco Editor, and Vue.js. If you are keen to see the finished result visit codedragon.pro.
What do we want to build?
Our simple requirements are:
- code editor with syntax highlighting,
- ability to share a link,
- see the code as it is being typed.
Duct Tape Solution
Since we only have 30 mins to do this, we'll focus more on delivering and using as many off-the-shelf components as possible.
Vue.js
Vue.js is a very popular framework for building web applications. It's used here mostly as glue and it's a framework I'm most comfortable with.
We'll just kick off the project with npm init which will scaffold a Vue 3 project for us.
npm init vue@latest

✔ Project name: … vue-project
✔ Add TypeScript? … No
✔ Add JSX Support? … No
✔ Add Vue Router for Single Page Application development? … Yes
✔ Add Pinia for state management? … No
✔ Add Vitest for Unit Testing? … No
✔ Add Cypress for both Unit and End-to-End testing? … No
✔ Add ESLint for code quality? … No
We will have two views: the home page and the editor page.
// router.js
import { createRouter, createWebHistory } from 'vue-router'
import HomeView from '../views/HomeView.vue'

const router = createRouter({
  history: createWebHistory(import.meta.env.BASE_URL),
  routes: [
    {
      path: '/',
      name: 'home',
      component: HomeView
    },
    {
      path: '/editor/:id',
      name: 'editor',
      component: () => import('../views/EditorView.vue')
    }
  ]
})

export default router
The homepage will have a single button that will generate a random ID and redirect to the editor page. Each user that has the same URL should see the same editor contents.
The editor page will render the editor and "connect" to the proper ID. This page will just include the Editor.vue component. This is where things get interesting.
Let's see what's inside the Editor.vue component.
Monaco Editor
First, we need a code editor. We decided to use Monaco Editor. It's the same editor component that is used in VS Code (in fact, I'm writing this in VS Code right now). It's powerful and supports many languages out of the box - this is great for our use-case.
Our build tool is Vite and we need a Vite plugin to use Monaco Editor properly.
Install the plugin:
npm install --save-dev vite-plugin-monaco-editor
Include it:
// vite.config.js
import monacoEditorPlugin from 'vite-plugin-monaco-editor';

// add it in the plugins array
monacoEditorPlugin({}),
We need to install some additional dependencies for Monaco Editor and Y.js later on:
npm install monaco-editor y-monaco y-webrtc yjs
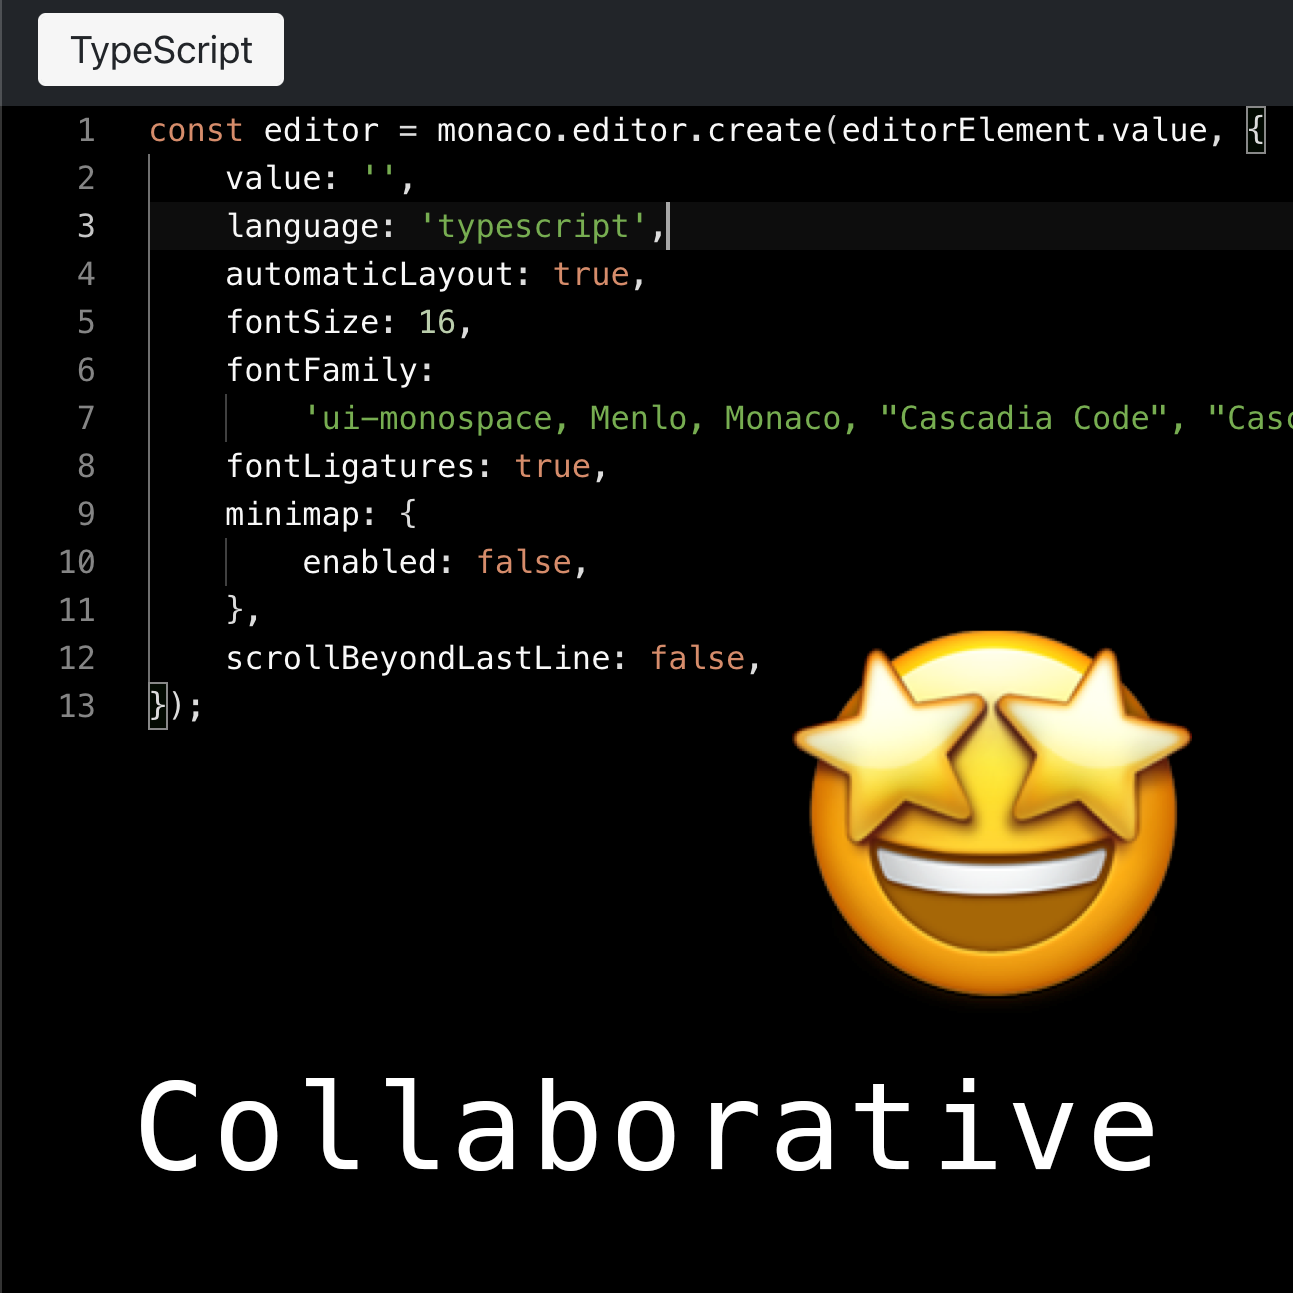
Our editor component instantiates the monaco-editor component.
<script setup>
  import { ref, onMounted } from 'vue';
  import * as monaco from 'monaco-editor';

  const editorElement = ref(null);
  onMounted(() => {
    const editor = monaco.editor.create(editorElement.value, {
      value: '',
      language: 'typescript',
      theme: 'vs-dark',
    });
  });
</script>

<template>
  <div class="editor" ref="editorElement"></div>
</template>
Y.js
Next, we need a way to make editing collaborative. We will use a library called Y.js. Let me just copy-paste author's description, since it explains best what it does.
Modular building blocks for building collaborative applications like Google Docs and Figma.
This is the workhorse behind our editor. It will enable real-time collaboration between multiple users. It provides great off-the-shelf bindings for most popular editors. Alongside that, they offer support for multiple protocols like WebSockets or WebRTC.
For this example, we'll use WebRTC. It's a protocol that allows two users to connect and exchange data, without a central server.
<script setup>
  import { ref, onMounted } from 'vue';
  import * as monaco from 'monaco-editor';
  import * as Y from 'yjs';
  import { WebrtcProvider } from 'y-webrtc';

  // Let's say we init our editor for some ID
  const props = defineProps({
    id: {
      type: String,
      required: true,
    },
  });

  const editorElement = ref(null);
  onMounted(() => {
    const ydoc = new Y.Doc();
    // Users using the same ID will share the same document
    const provider = new WebrtcProvider(props.id, ydoc);
    const ycontent = ydoc.getText('monaco');

    const editor = monaco.editor.create(editorElement.value, {
      value: '',
      language: 'typescript',
      theme: 'vs-dark',
    });

    // Bind Yjs to the editor model
    new MonacoBinding(ycontent, editor.getModel(), new Set([editor]), provider.awareness);
  });
</script>
And ... that should be it. It might not look enough, but it works. Open two browsers and play around.
Domain & Cloudflare Pages to Finish
Let's make it more accessible by buying a cool domain that contains "coding" or "code". Something like "codedragon.pro" since .pro is only 2.81$ right now.
We can use Cloudflare Pages to host the editor. We are using WebRTC and public signaling servers, because of this we don't need a backend server.
Last few steps:
- Buy the domain ☑️
- Change the nameservers to Cloudflare nameservers ☑️
- Add your Github repo to Cloudflare Pages ☑️
And we are live! Visit codedragon.pro to test it out.
Some things to keep in mind
There are some caveats to this simple solution.
- Our editor loses state after the last person disconnects ⚠️
- We didn't provide the user with a way to change syntax highlighting language
- We didn't use the awareness feature of Y.js (shared cursors)
You would need a backend that stores the state and restore it after the first editor opens. One other thing that worked for me, I've used y-websocket since it keeps the state in memory. It works okay for my limited use case.
For the second point, you can easily set the language used in Monaco editor.
monaco.editor.setModelLanguage(editor.getModel(), value);
Github repo
Thank you for reading. It was a fun little experiment for me, and I'll use it in some future interviews. If you are keen on seeing the finished code, check out the Github repo.